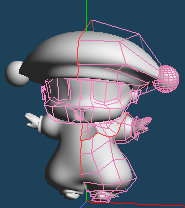
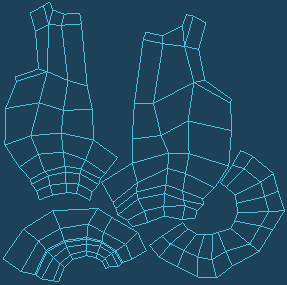
(clown.mqo)
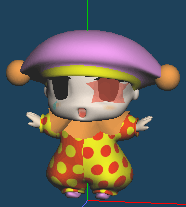
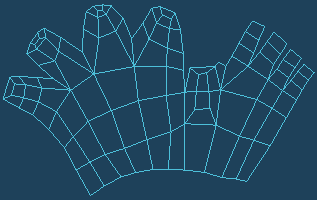
(clown_finished.mqo)
In this tutorial, using a sample file, you will learn how to edit UV.
|
|
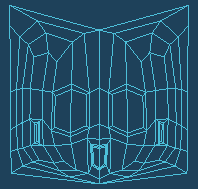
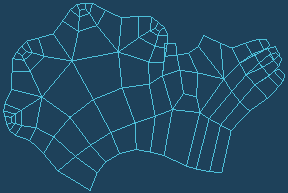
| A sample file (clown.mqo) |
Completion (clown_finished.mqo) |
This character model is symmetrical. Parts other than the face are applied [Mirroring], and are not applied [Freeze]. Expand the UV of the model to create texture images. Texture images are two for the face and body.
Note: Sample files for this tutorial are in the [SampleModels] under the Metasequoia folder.
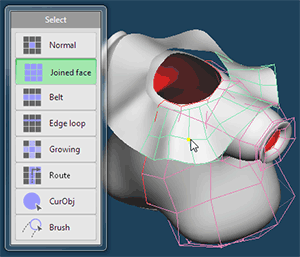
When the editing of UV, Switch to [Mapping] mode. And, Select the object and the material to edit UV in [Object Panel], [Material Panel].
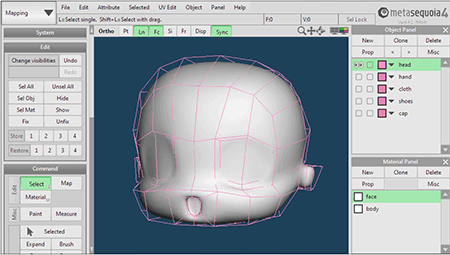
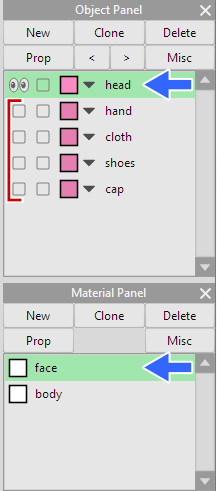
First, select the head object in [Object Panel] and the face material in [Material Panel].
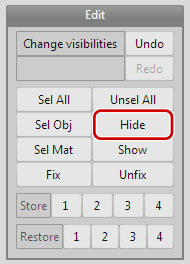
Display the head only because operation can be more easily. In Object Panel, click the eye mark and hide the object other than the head.
And, vertices, lines, faces are all unselected. If you click [Unsel All] in [Edit] panel, you can make all unselected.
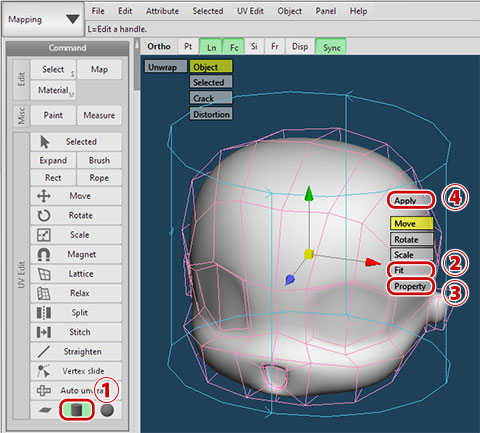
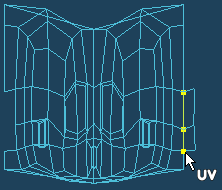
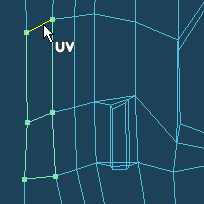
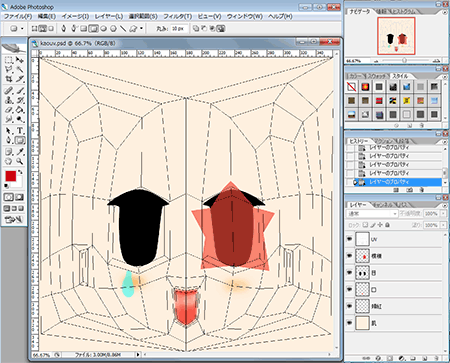
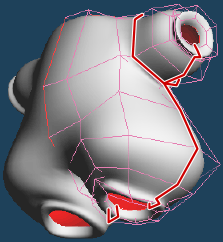
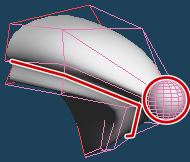
Click [Unwrap], and check the development view. Part of faces are in the unintended position.
Let's fix this. Select [Split] in Command Panel.
Click the starting point of the part to be separated. Trace the lines of separating, and click the end point.
 |
 |
 |
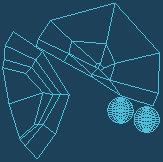
Faces are separated.
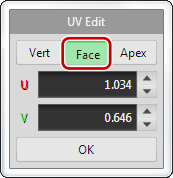
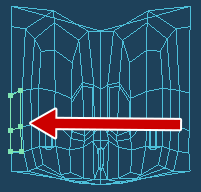
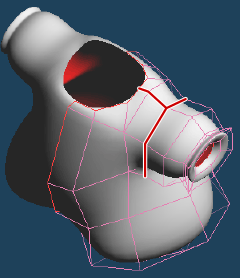
Then, select [Move]. Click [Face] in Sub Panel, and select the faces to move. If you press Shift + click, you can select more than one face.
Drag and move the selected face. If you drag while holding down the Shift key, you can be moved parallel.
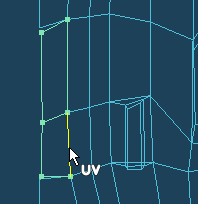
Connect the moved faces by [Stitch].
Select [Stitch] in the Command Panel, and put the mouse pointer to the lines that you want connect. Then, the corresponding lines are displayed. Click it.
 |
|
 |
Stitching is complete. Stitch in the same way other lines.
Once again, check the whole. Lines of the eyes and mouth and ears and chin has tangled. Let's fix these.
Select [Relax] in the Command Panel, and drag the part you want to modify.
Entanglement is generally organized by [Relax], then adjusted by [Move] the vertex. Only you need to adjust the right half.
After adjusting the half right, you can copy to the left half.
Select [Mirror Copy] in [UV Edit] of the menu.
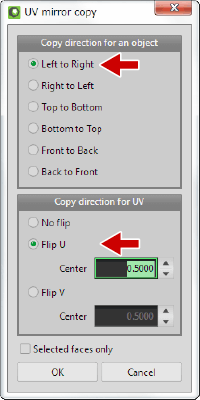
Open [UV mirror copy] panel and set property.
This time, the right side of UV (the left side of the object) are copied. Check [Left to Right] [Flip U] and click [OK].
UV is copied to the opposite side. It is symmetrical.
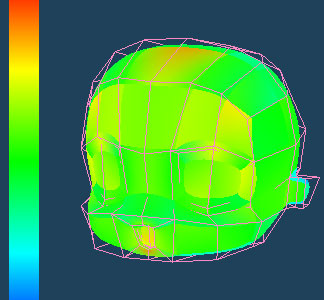
When the UV is distorted, it cause distortion of texture. Let's check the distortion.
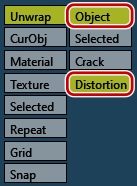
Enable [Object] and [Distortion] and check it.
Distortion of the part of the warm color is strong, cool color is less. It is ideal color is cool and constant.
UV deployment of face is complete.
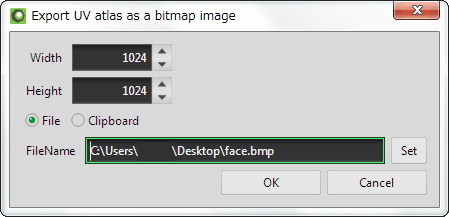
Export image file of development view.
Select [Export] in [UV Edit] of the menu and open the dialog for export. Specify the size of the image and the file location and the name.
On the basis of the development view, create a texture. Please use the image editing software that your have (such as Photoshop or GIMP).
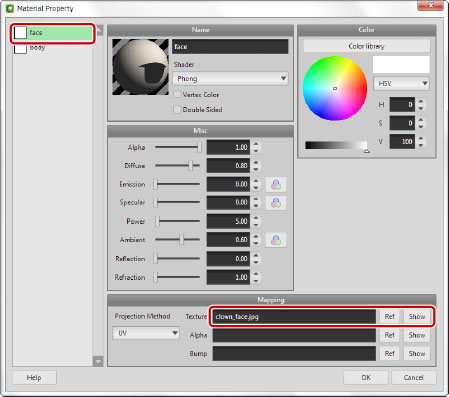
Open [Property] of the face material in Material Panel. Enter the texture to [Texture].
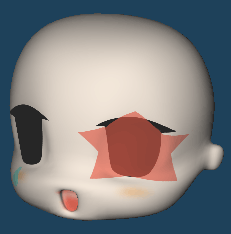
Texture is applied.
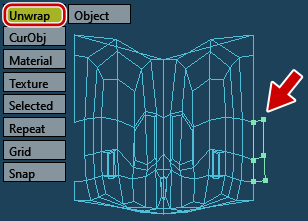
Supplement: Edit by [Vertex Slide]
After applying a texture, you want to edit the object. If you use [Vertex Slide], you can edit the object without compromising the texture.
 |
|
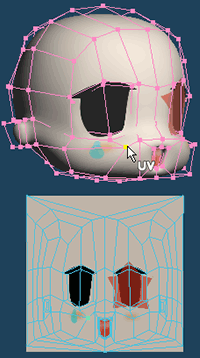 |
By [Vertex Slide], position of the vertex of the cheek is moved. UV is edited at the same time, the position of the tear mark does not change.
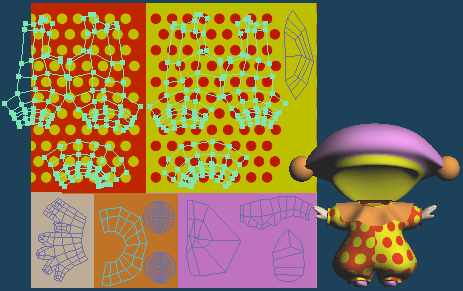
Expand the part other than the face, and create a single texture.
First, expand the UV of the hand.
Select hand in Object Panel and body in Material Panel.
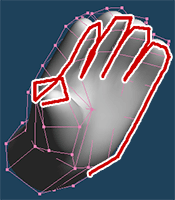
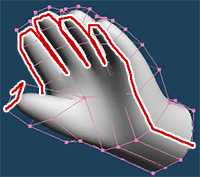
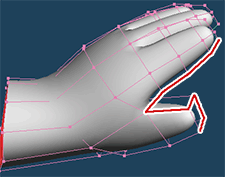
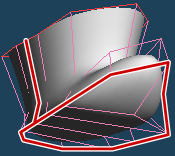
Select cut lines. By [Select] of [Edit] in Command Panel, select the palm of boundary line as shown in the figure below. Line from the thumb to the wrist is not selected.
 |
|
 |
 |
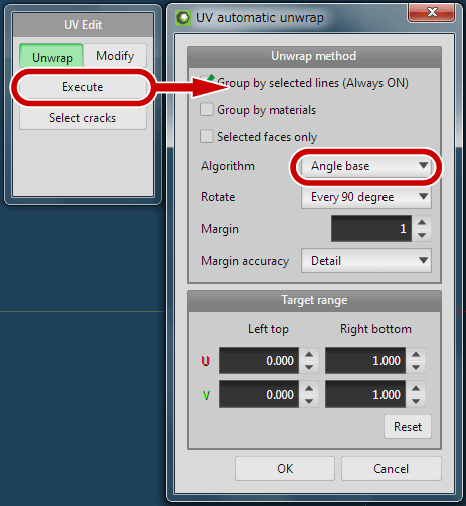
Select [Auto Unwrap] in Command Panel, and run [Angle base].
It becomes the following results.
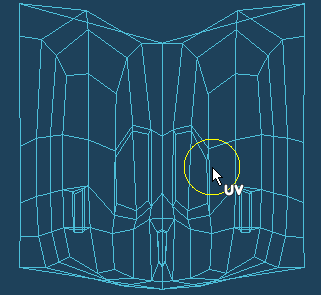
Palm of UV is tangled. You need to organize the whole.
Select [Magnet] in Command Panel and Drag the vertex you want to move. It is efficient because the vertex of the surroundings follow the selected.
 |
|
 |
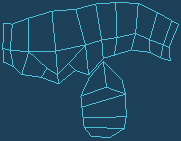
Adjust by [Move]. The UV deployment of the hand is complete.
The next step is the deployment of the cloth object.
Temporarily, you can hide the collar. Selection of cut lines of cloth is easier.
Select cut lines of the clothes.
By [Select] select cut line. Refer to the seam of real clothes. In the following, select the shoulder and side and sleeves seam. In the case of side and sleeves, it is more efficient to use [Edge loop].
 |
 |
Make these [Auto Unwrap].
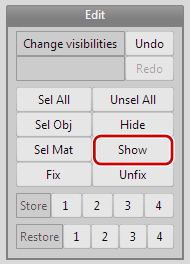
After the operation, display the collar again. Click [Show] in Edit Panel to display hidden faces.
Expand UV of the shoes. Select the inner line of the foot and the border of shoe bottom. Make these [Auto Unwrap].
 |
 |
The cap, select as follows, and make these [Auto Unwrap].
 |
 |
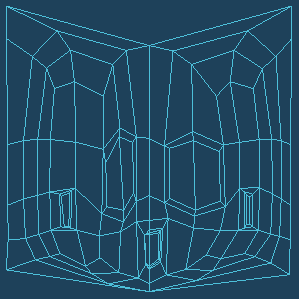
Deployment has completed all.
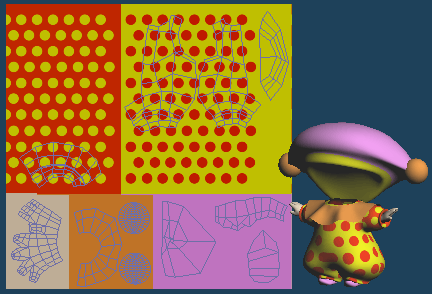
Place the development view in a single texture.
We use a texture such as the following.
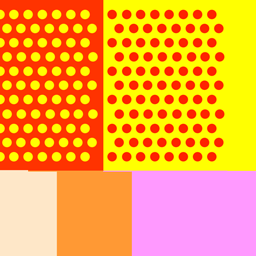
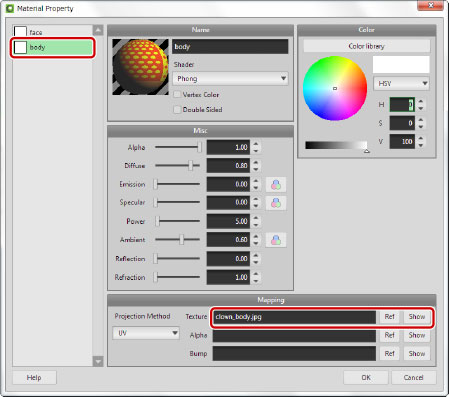
Enter this texture to [Texture] of the body material.
Open the [Material setting] and select body. Right-click the [Ref] button side [Texture] in [Mapping]. When you select [At current object file], you can open the folder which the sample model is in. Select the clown_body.jpg, and specify it to texture.
All of the objects that are assigned the body material. Disable [CurObj] and check the UV deployment. It is displayed overlapping multiple parts.
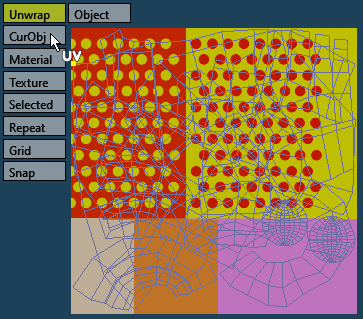
Let's replace the each development view.
When you click with holding Shift and Ctrl key the vertex of the UV deployment, connected parts is selected. By [Move] and [Rotate] and [Scale], adjust position of the UV deployment and place as follows.
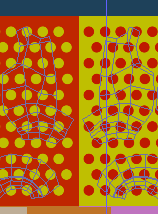
Shape of clothes is symmetrical. However, the pattern is not symmetrical. You need to be processed.
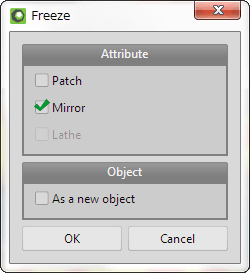
Freeze the mirror of cloth object.
Select cloth in Object Panel. Open [Freeze] of [Object] in the menu. Check [Mirror] and press [OK].
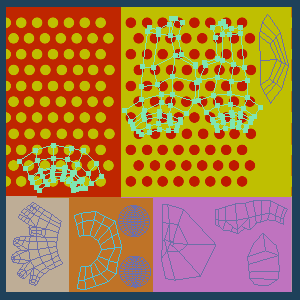
After freezing the mirror of the object, and then copy UV. Select the asymmetric part of the cloth object. In this case, front body and the back body, sleeves. Collar is not selected because its pattern is symmetry.
Select [Mirror Copy] of [UV Edit] in the menu.
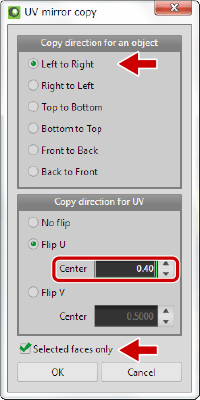
Open [UV mirror copy] panel, and set. Check [Left to Right] and [Selected face only]. Only selected faces are copied.
Set center of symmetry "0.40". Press [OK].
[Mirror Copy] has been completed.
The mirror copied development is not within the texture and has distortion. Let's fix these.
Set the [Symmetry center] for UV Editing.
 |
|
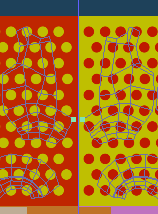 |
Symmetry axis has moved. If you edit the one side, opposite side across the axis is edited.
Adjust UV by [Move] and [Scale] to fit in the texture.
Display and check all of the objects. It is complete.